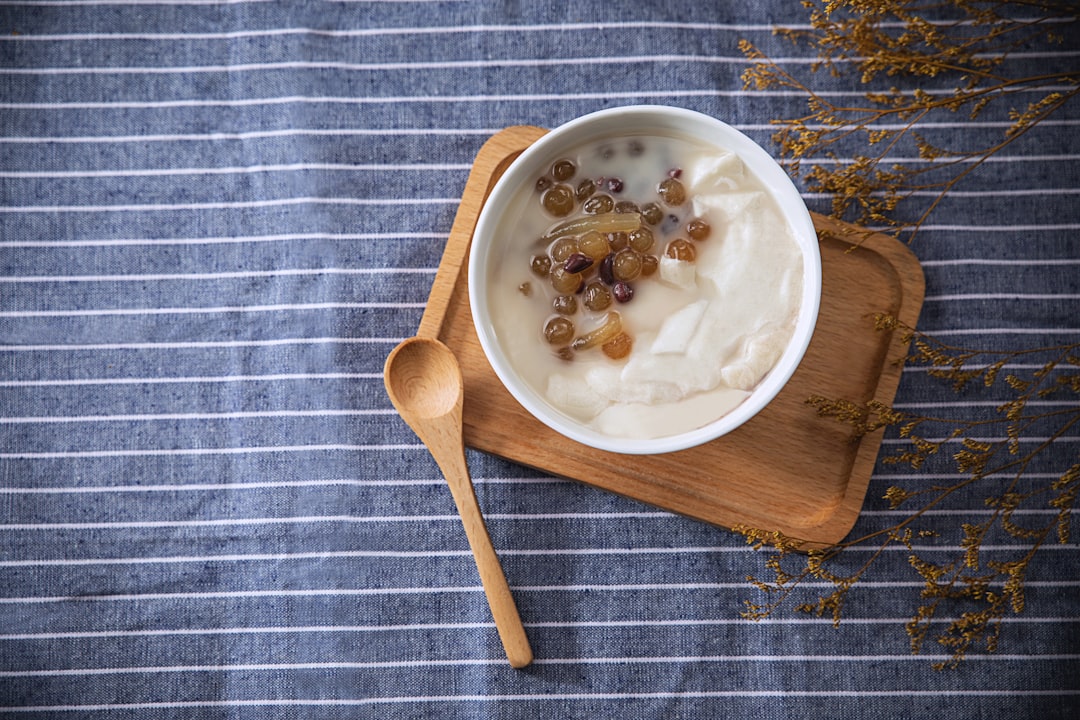
Why Make Yogurt at Home?
Homemade yogurt offers several advantages over store-bought versions. You can choose your preferred milk—whole, low-fat, or even plant-based—and avoid added sugars, thickeners, or preservatives. Many people find that homemade yogurt has a fresher taste and a smoother texture. Additionally, making yogurt at home can be more economical, especially if you consume it regularly. Results may vary depending on your ingredients and environment, but the process is worth trying for anyone interested in simple food preparation.
What You Need to Get Started
Before you begin, gather these basic items. Most are already in your kitchen.
- Milk: Use fresh milk (whole or 2% works best for creaminess).
- Starter culture: A few tablespoons of plain, live-culture yogurt from the store or a previous batch.
- Thermometer: A kitchen thermometer helps monitor temperatures, but you can also use your finger to test warmth.
- Pot: A heavy-bottomed pot for heating milk.
- Jars or containers: Clean glass jars with lids for fermenting and storing.
- Warm place: A spot like an oven with the light on, a cooler with warm water, or a heating pad set to low.
You do not need a yogurt maker, though some people find it convenient. The key is maintaining a consistent temperature during fermentation.
Step-by-Step Instructions for Making Homemade Yogurt
Follow these steps carefully. Your first batch may not be perfect, but practice will improve your results.
Step 1: Heat the Milk
Pour 4 cups (1 liter) of milk into a pot. Heat over medium heat, stirring occasionally, until it reaches 180°F (82°C). This step kills any unwanted bacteria and changes the protein structure for a thicker yogurt. Do not boil vigorously; small bubbles are fine.
Step 2: Cool the Milk
Remove the pot from heat and let it cool to 110–115°F (43–46°C). You can speed this up by placing the pot in a cold water bath. Stir gently to avoid a skin forming on top. The milk should feel warm but not hot to your finger.
Step 3: Add the Starter
In a small bowl, mix 2 tablespoons of your plain yogurt starter with a few tablespoons of the warm milk until smooth. Then stir this mixture back into the pot. This ensures even distribution of the live cultures.
Step 4: Incubate
Pour the milk into clean jars. Cover with lids loosely. Place the jars in your warm spot (around 110°F or 43°C). Let them sit undisturbed for 6 to 12 hours. The longer you ferment, the tangier the yogurt becomes. Check after 6 hours—the yogurt should be set like jelly.
Step 5: Refrigerate
Once set, move the jars to the refrigerator. Chill for at least 4 hours before eating. This stops fermentation and firms up the texture. Your homemade yogurt is now ready to enjoy.
Common Mistakes and How to Avoid Them
Even experienced cooks make errors. Here are frequent pitfalls and simple fixes.
- Yogurt is too runny: This often means the milk was not heated high enough (below 180°F) or the incubation temperature was too low. Next time, heat the milk properly and check your warm spot.
- Yogurt is too sour: Fermenting for too long (over 12 hours) can create excess acidity. Shorten the incubation time to 6–8 hours for a milder flavor.
- No yogurt formed: The starter may have been inactive or the milk was too hot when added (killing the cultures). Always use fresh, live-culture yogurt and let milk cool to 110–115°F.
- Strange smell or mold: Contamination from unclean jars or utensils. Wash everything thoroughly with hot water and soap before starting.
Remember, results are not guaranteed on your first try. Adjust your technique based on what you observe.
How to Customize Your Homemade Yogurt
Once you master the basic recipe, you can experiment with flavors and textures. Options may vary depending on your preferences.
- Add fruit: Stir in fresh berries, sliced bananas, or a drizzle of honey after fermentation.
- Make it thicker: Add a tablespoon of powdered milk to the milk before heating, or strain the finished yogurt through cheesecloth for Greek-style yogurt.
- Use alternative milks: Coconut, almond, or oat milk can work, but they often need a thickener like gelatin or agar agar. Check your starter’s compatibility.
- Create a continuous culture: Save 2 tablespoons of each batch as a starter for your next batch. This can be repeated for several weeks before needing a fresh starter.
Storing and Using Your Homemade Yogurt
Proper storage extends the life of your yogurt. Keep it in a sealed container in the refrigerator. It typically stays fresh for 1 to 2 weeks. If you see liquid on top (whey), simply stir it back in or pour it off—it’s rich in protein and can be used in smoothies or baking.
Homemade yogurt is versatile. Use it as a base for smoothies, a topping for granola, a substitute for sour cream in recipes, or a marinade for meats. The possibilities are limited only by your imagination. Requirements may apply for certain uses, such as ensuring the yogurt is plain for savory dishes.
Frequently Asked Questions
Can I use ultra-pasteurized milk for homemade yogurt?
Yes, but it may result in a thinner yogurt because the protein structure is already altered. You can add powdered milk or a thickener to improve texture. Some people prefer using regular pasteurized milk for better results.
How long does homemade yogurt last in the fridge?
Under proper refrigeration (below 40°F or 4°C), homemade yogurt usually lasts 1 to 2 weeks. Always check for off smells or mold before eating. If in doubt, discard it.
Why did my yogurt turn out grainy?
Grainy texture often happens when the milk is heated too quickly or overheated. It can also occur if the incubation temperature fluctuates. Stir gently during cooling and maintain a steady warm environment.
Do I need a yogurt maker to make yogurt at home?
No. You can use an oven with the light on, a slow cooker on the warm setting, or even a sunny windowsill. The key is keeping the yogurt at around 110°F (43°C) for 6–12 hours. Many people achieve great results without specialized equipment.
Can I make dairy-free yogurt using this method?
Yes, but it requires adjustments. Plant-based milks like soy or coconut may need a thickener (such as cornstarch or agar agar) because they lack the proteins that help dairy yogurt set. Also, use a dairy-free starter culture. Results are not guaranteed and may vary by brand.
Related Searches
- homemade yogurt recipe without a machine
- how to make Greek yogurt at home
- easy yogurt fermentation tips
- best milk for making yogurt
- how to fix runny homemade yogurt
- dairy-free yogurt recipe with coconut milk
- yogurt starter culture alternatives
- how long to ferment yogurt for tanginess